
Salesforce App Installation Guide
To install the Credit Pulse Salesforce app, start by clicking this link and logging in to your Salesforce site:
https://login.salesforce.com/packaging/installPackage.apexp?p0=04tgK0000006lDx
Follow the instructions to install the app for all users in your organization.
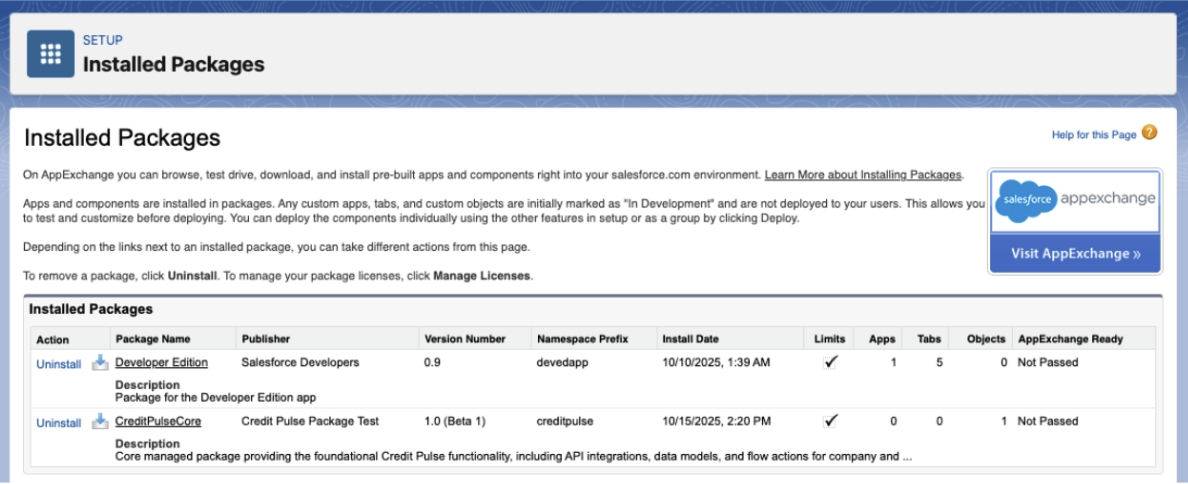
Once installed, you will see “CreditPulseCore” in your list of installed packages, however, you will need to set up a few other things:
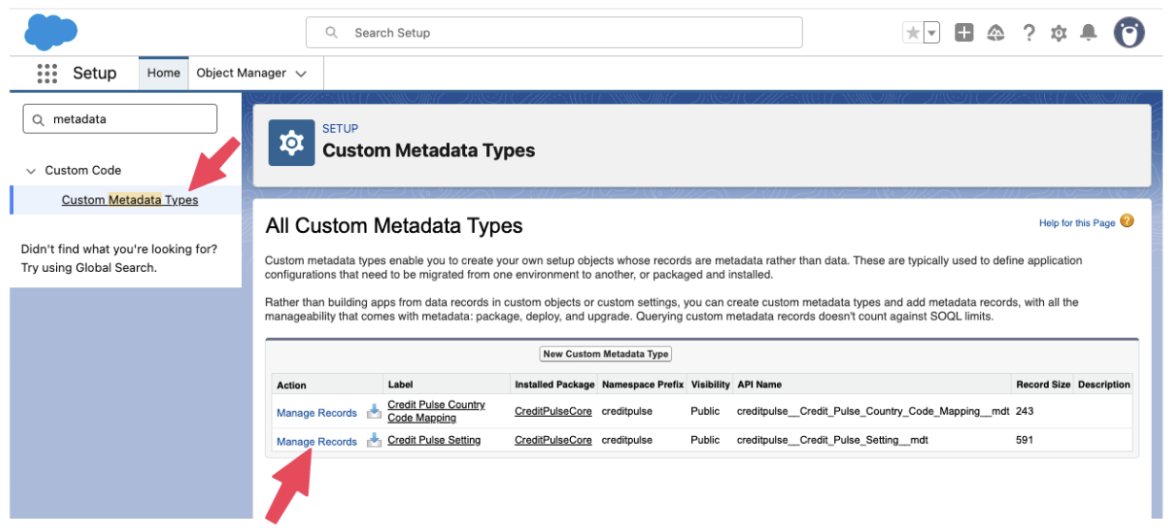
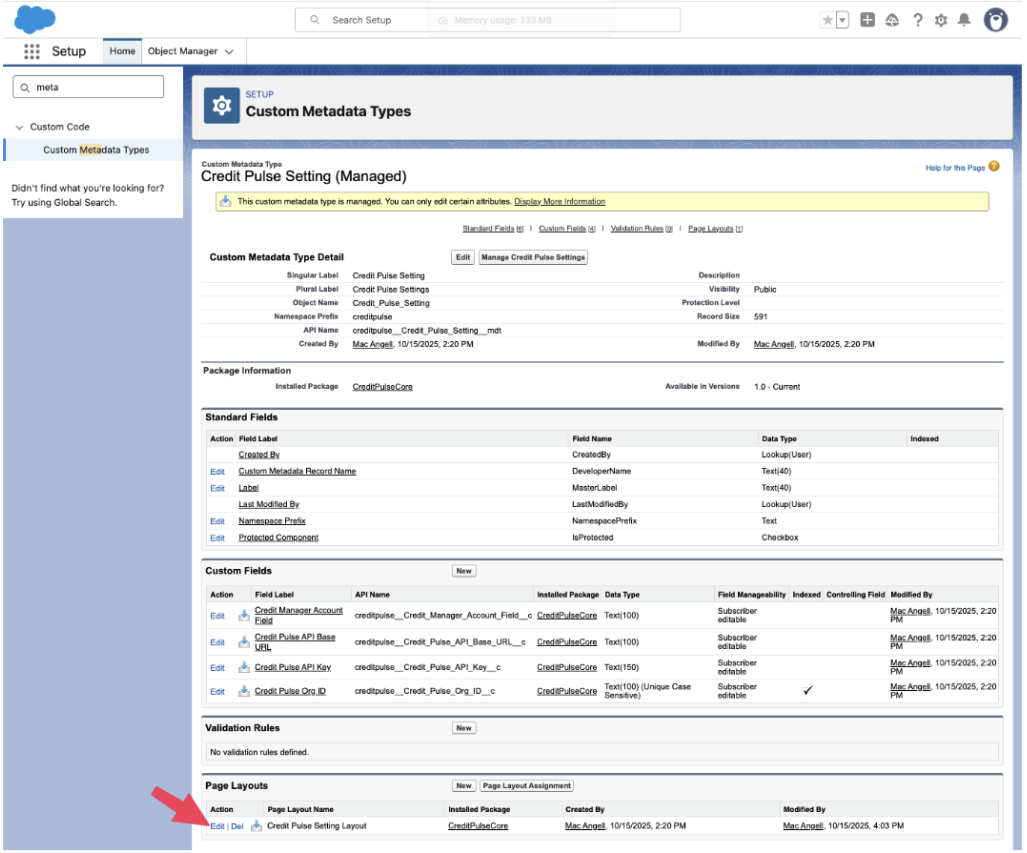
Go into Setup, and go to “Custom Metadata Types”. You should see a type labelled “Credit Pulse Setting”. Click “Manage Records”.
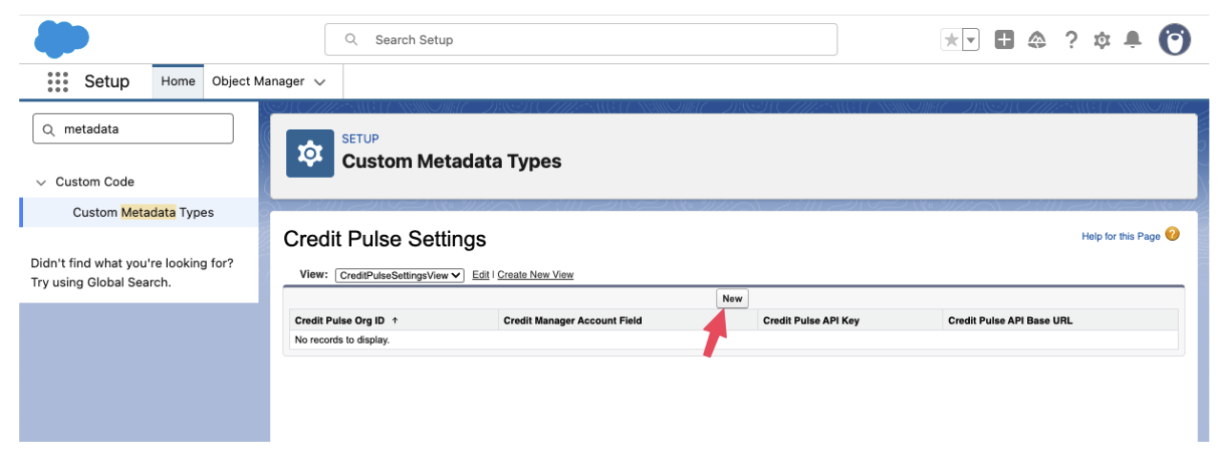
Then click the “New” button to add a new record.
You will want to fill in all the fields and replace “YOUR API KEY” and “YOUR ORG ID” with values that we provide you.
Label | Value |
Label (This can be anything you want) | My Credit Pulse Settings |
Credit Pulse Setting Name (This must be this value) | My_Credit_Pulse_Settings |
Credit Pulse API Base URL | |
Credit Pulse API Key | YOUR API KEY |
Credit Pulse Org ID | YOUR ORG ID |
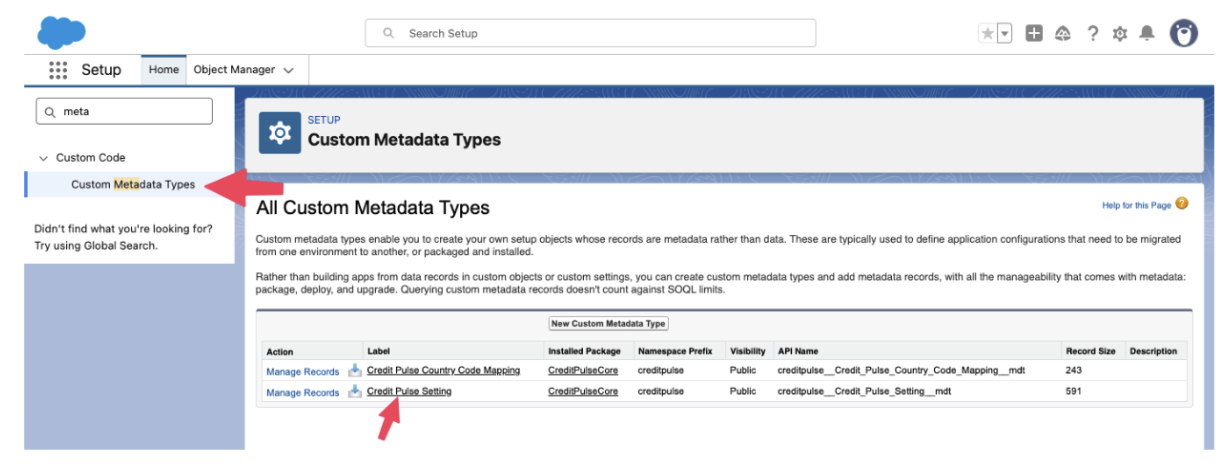
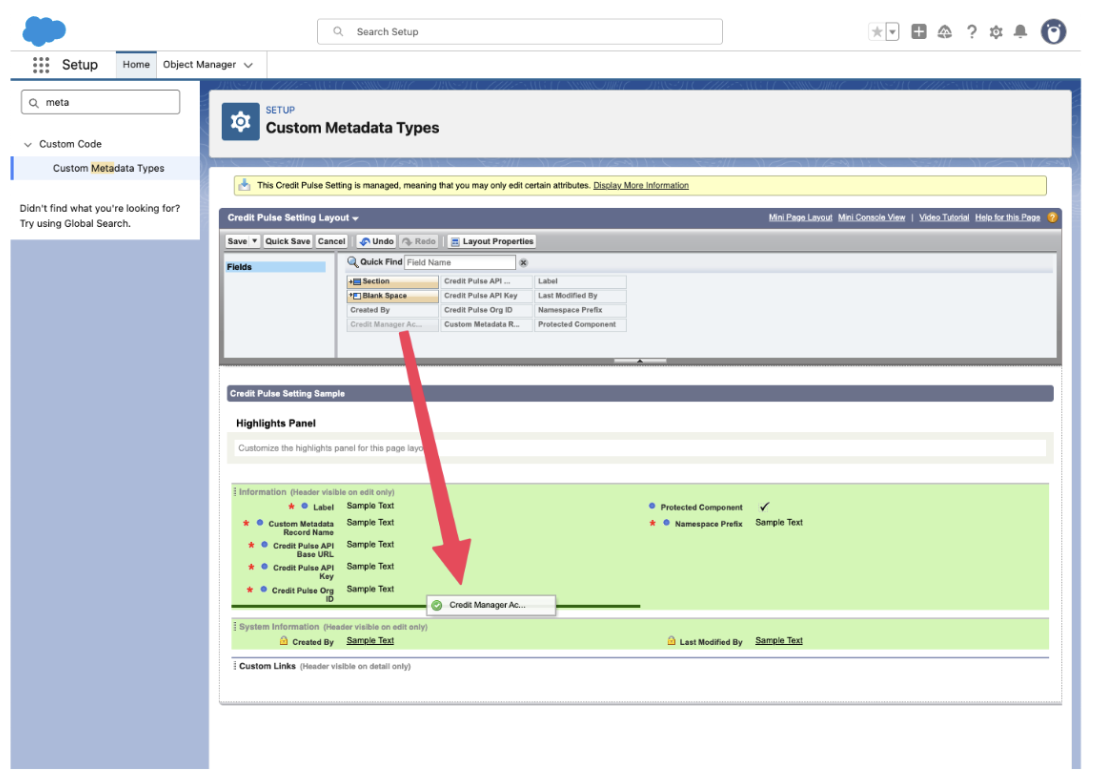
(Optional) If you need the ability to assign Salesforce users to accounts in Credit Pulse, you can specify the field on your Salesforce accounts that contains the credit manager. The way to do that is to add that field name to this metadata. You can do that by clicking the “Credit Pulse Setting” custom metadata type, editing the page layout to include the Credit Manager Account Field. Then you can go back and edit the record you created earlier and change the field name that corresponds to the field that contains the email address of your credit managers that are assigned to accounts.
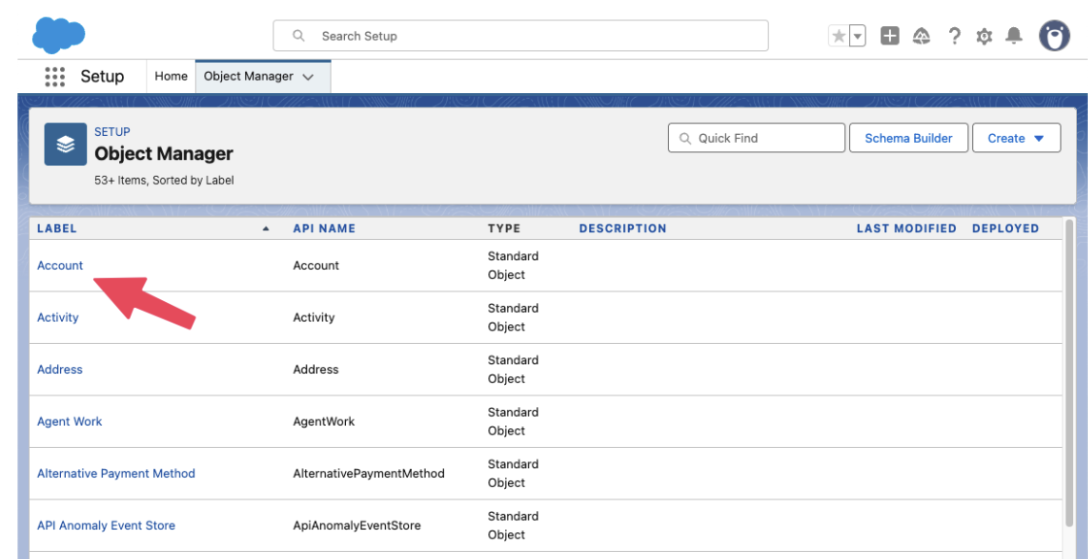
The next step is to add the Credit Pulse Lightning Web Component to your account views. Go to Setup and then to “Object Manager” and click on the Account object.
Click the “Lightning Record Pages” item on the left and then either edit an existing view or create a new one.
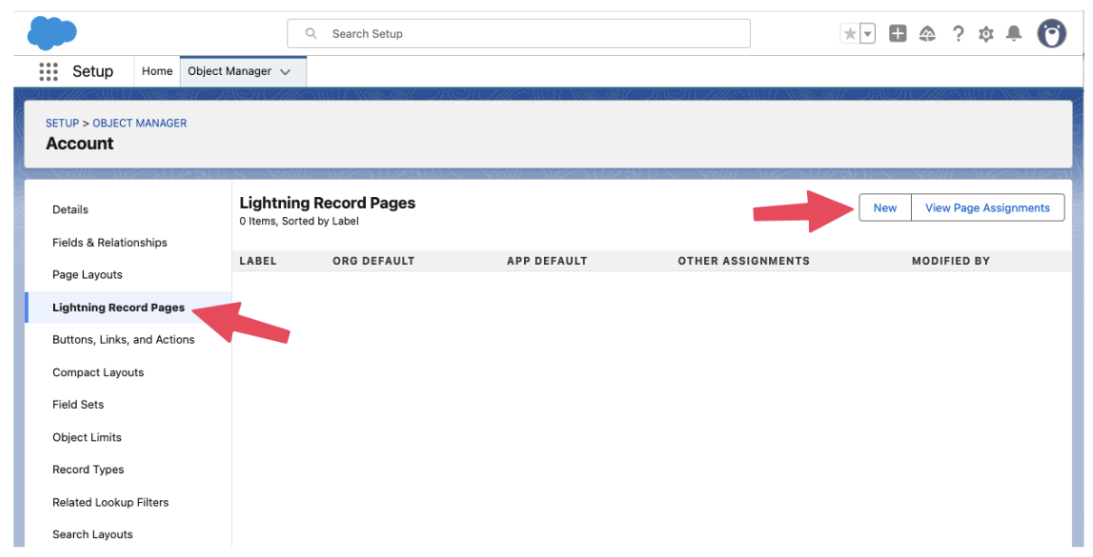
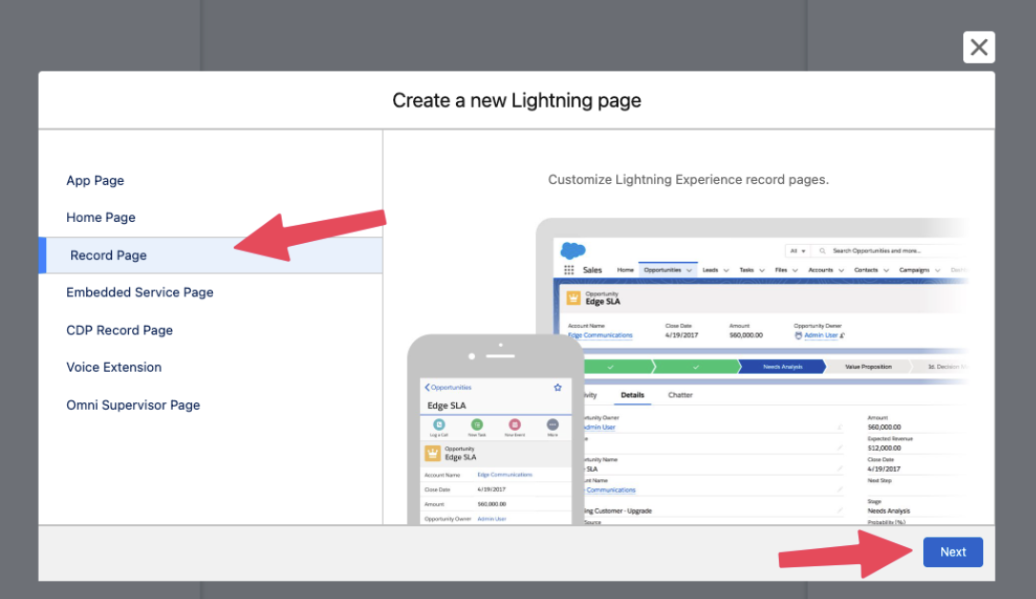
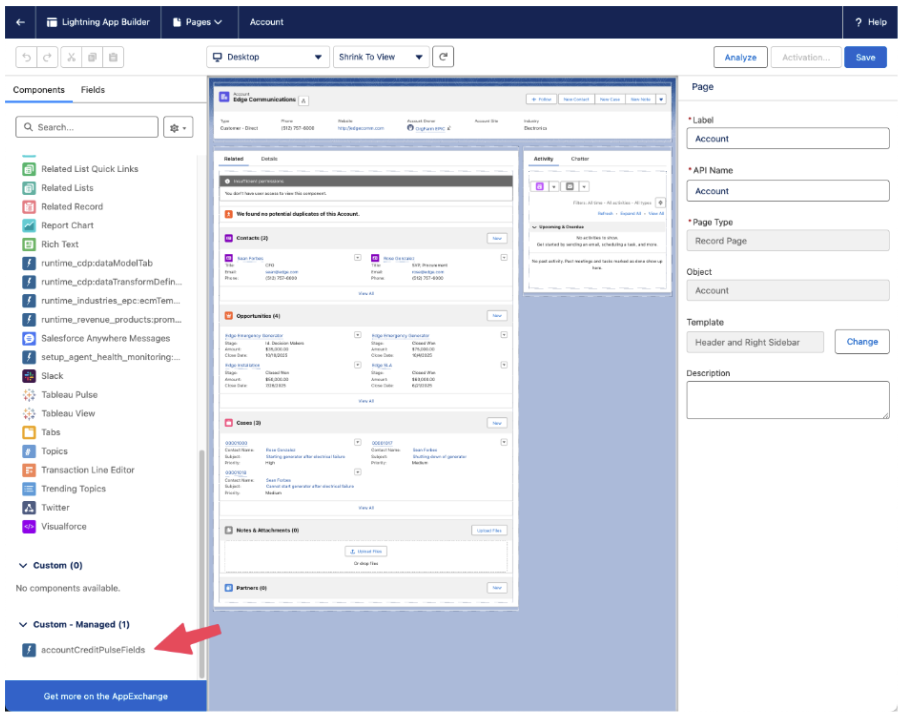
Once you are on the Lightning App Builder, you can click and drag the “accountCreditPulseFields” component to wherever you would like it be and click the Save button. If this is a new page, activate it.
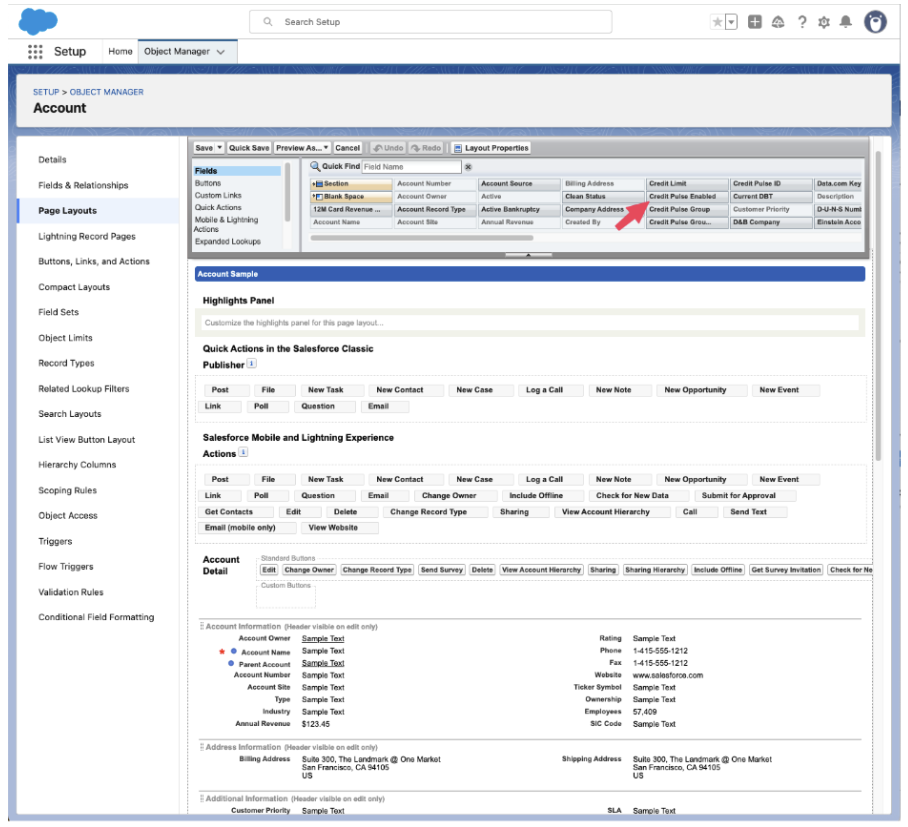
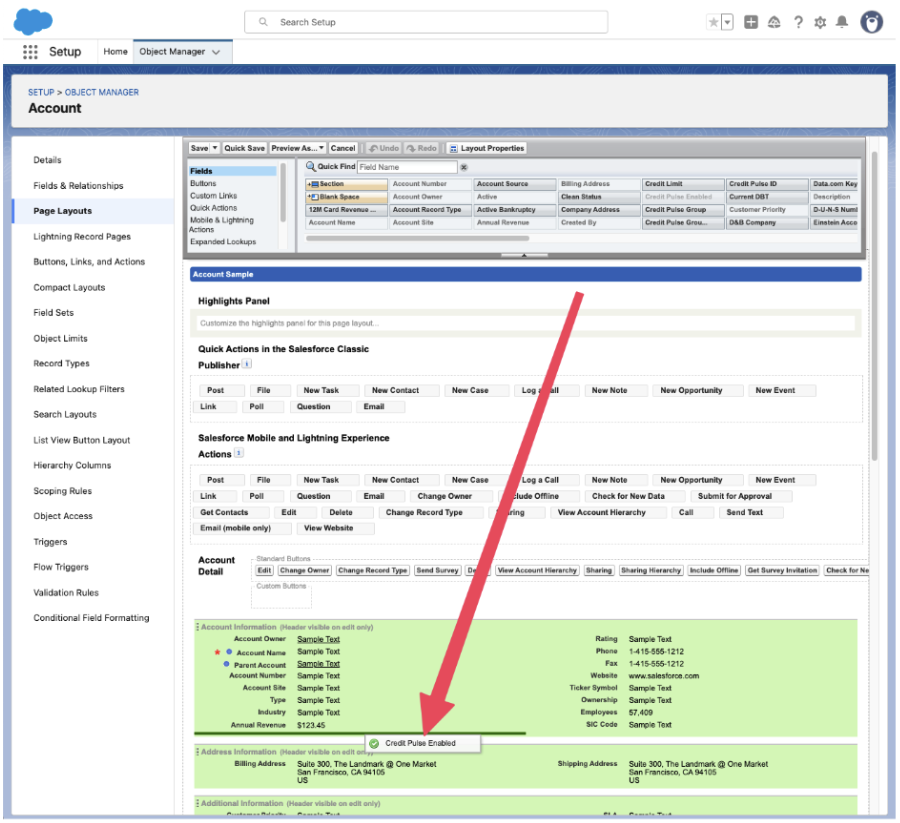
In order to use Credit Pulse for a specific account, it must be enabled on that account. There is a custom field called “Credit Pulse Enabled” that can be toggled on and off manually or by some other automated flow in your Salesforce instance. If you want to be able to manually enable/disable Credit Pulse for an account, you will want to add the field to your existing page layout. To do this, first go to Object Manager, click on the Account object, and select Page Layouts. Select a specific Page Layout to modify. Then look for the “Credit Pulse Enabled” field and drag and drop it somewhere into your page layout and hit Save.
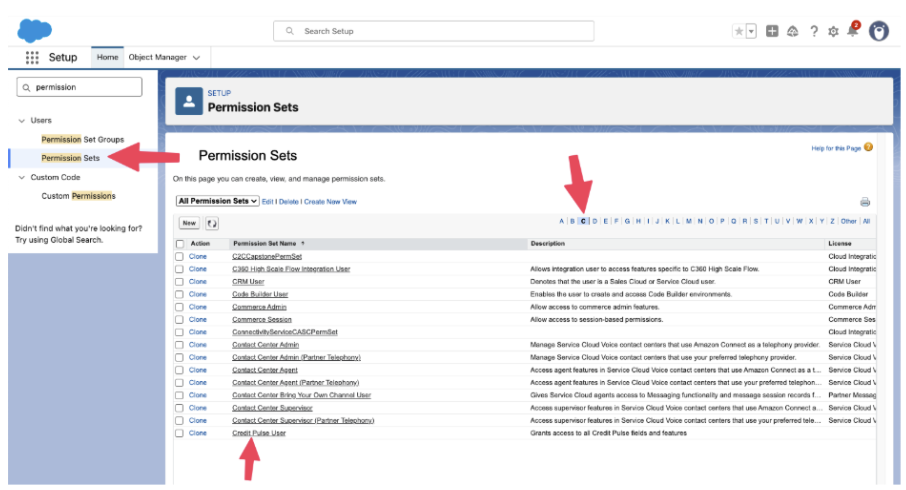
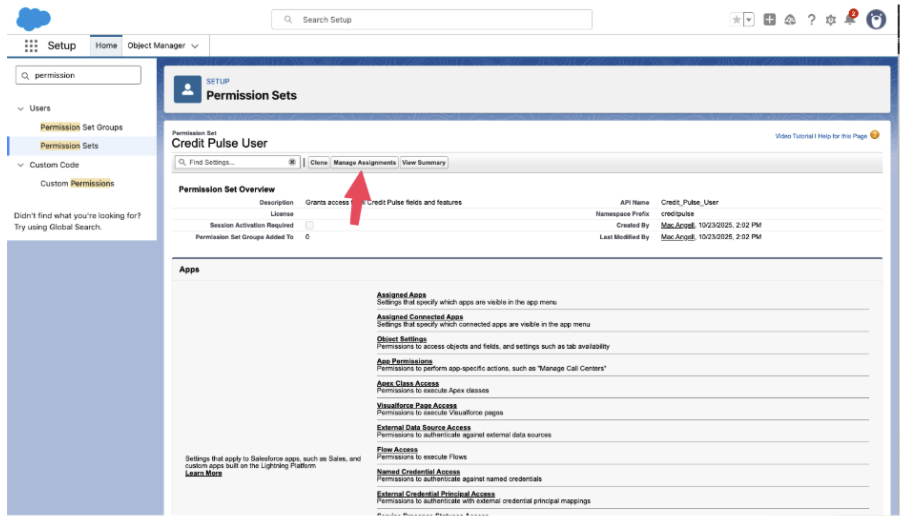
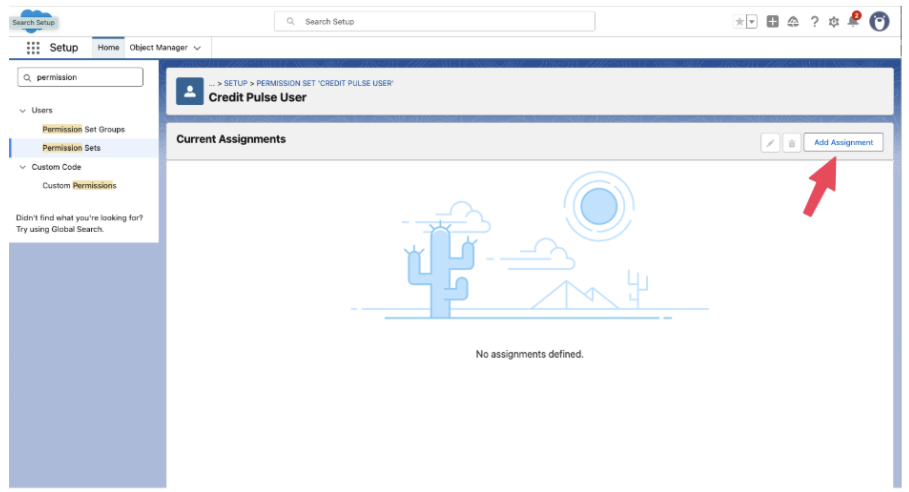
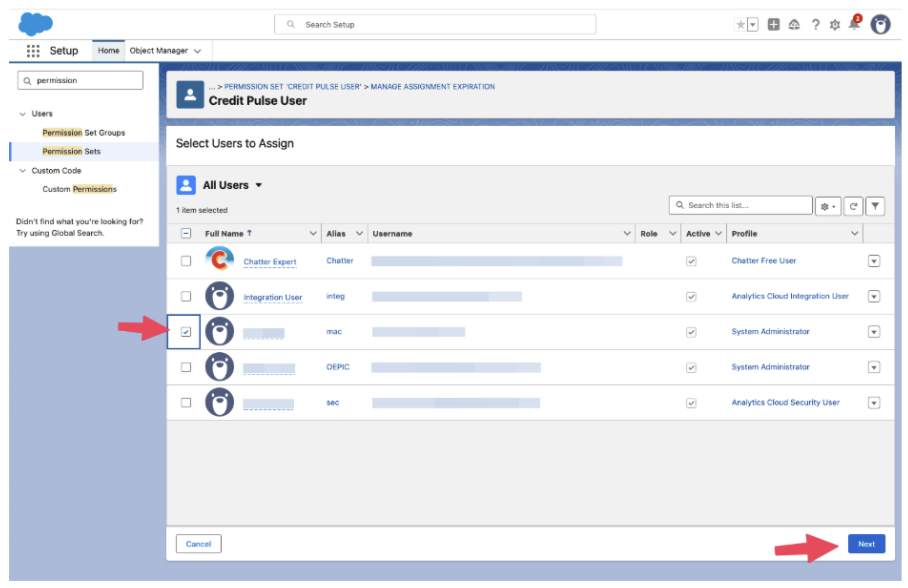
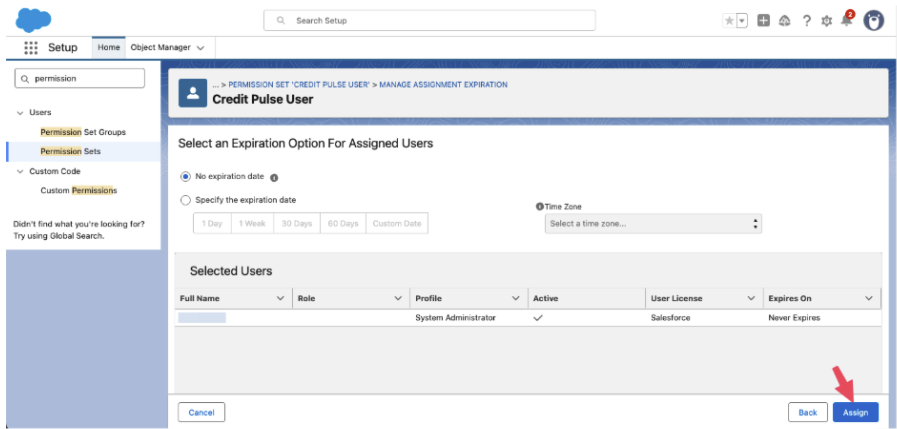
Then in Setup, go to “Permission Sets”, find the “Credit Pulse User” permission set, click “Manage Assignments” and add whoever needs access to toggle Credit Pulse on/off to be assigned this permission.
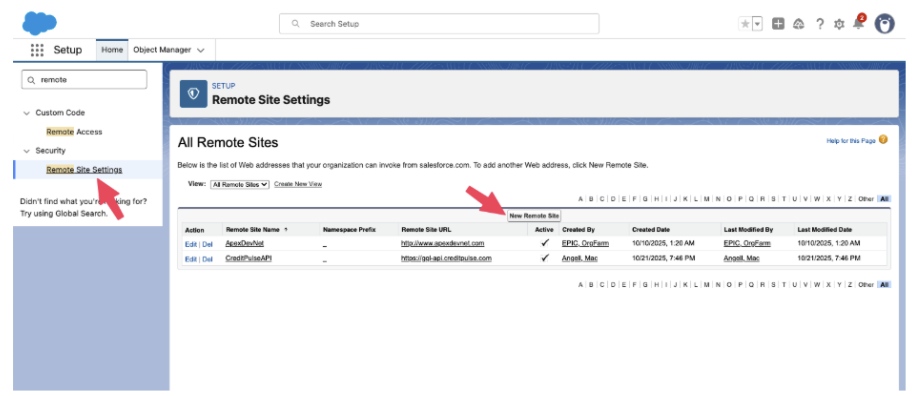
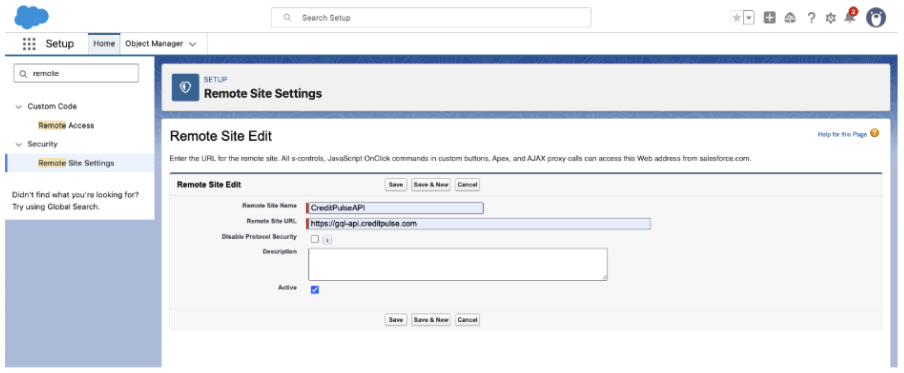
Lastly, you will need to add the Credit Pulse API to the list of Remote Sites to allow Salesforce to be able to reach the Credit Pulse API. Go to “Remote Site Settings”, click the “New Remote Site” button, and add “https://gql-api.creditpulse.com” as a new remote site.
Once you have completed these steps, the Credit Pulse App should work. If there are any questions about these steps, please contact us at support@creditpulse.com.